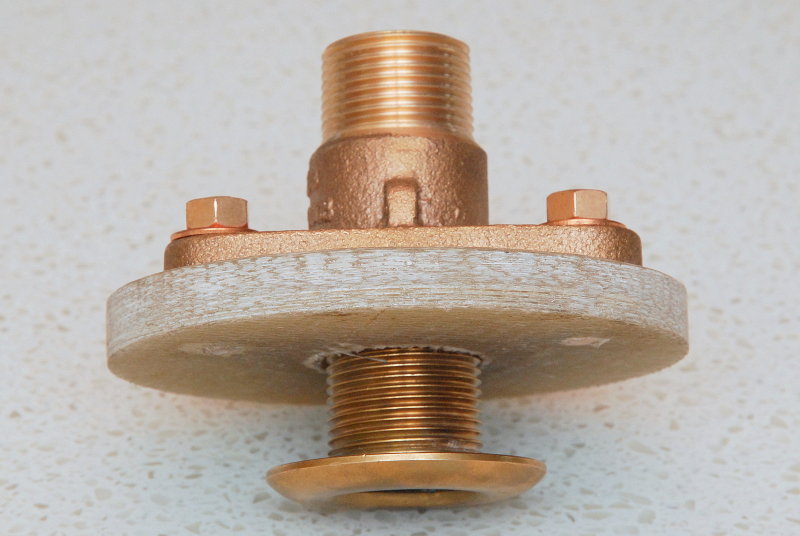
This photo shows a side view of the assembly. The hull & sealant are the only pieces missing.
09-APR-2009
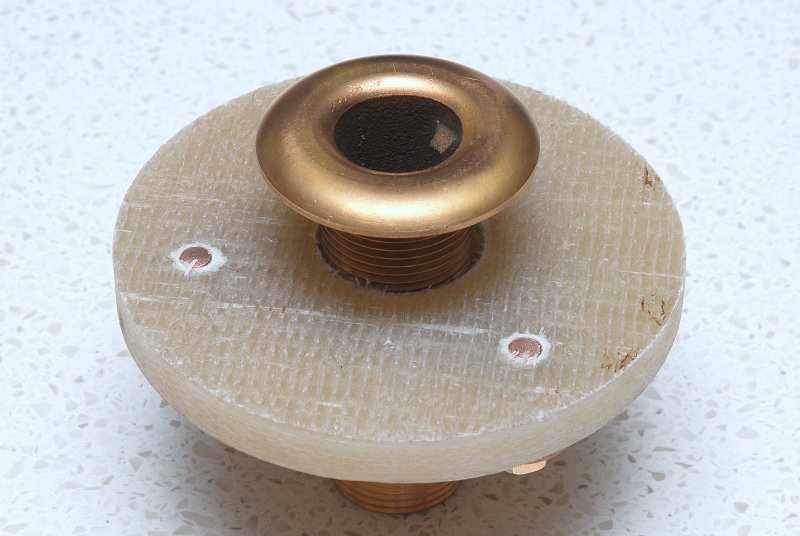
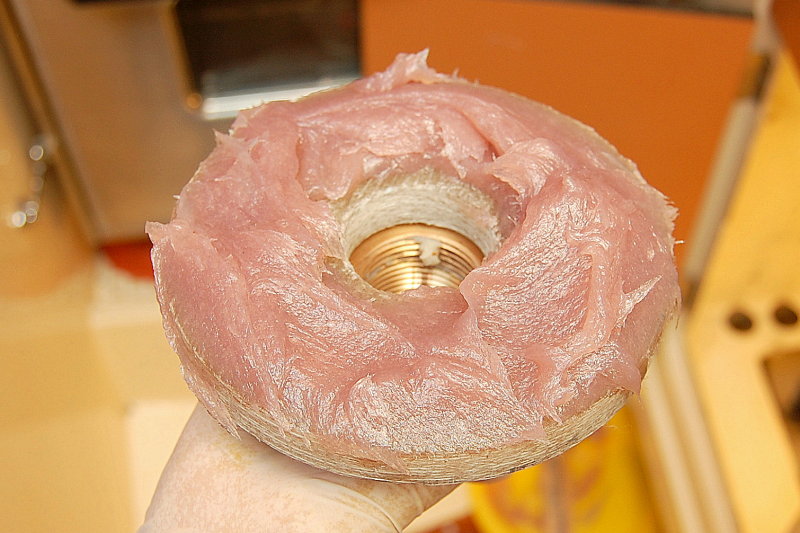
Bottom View
Here you can see the bottoms of the studs.
10-APR-2009
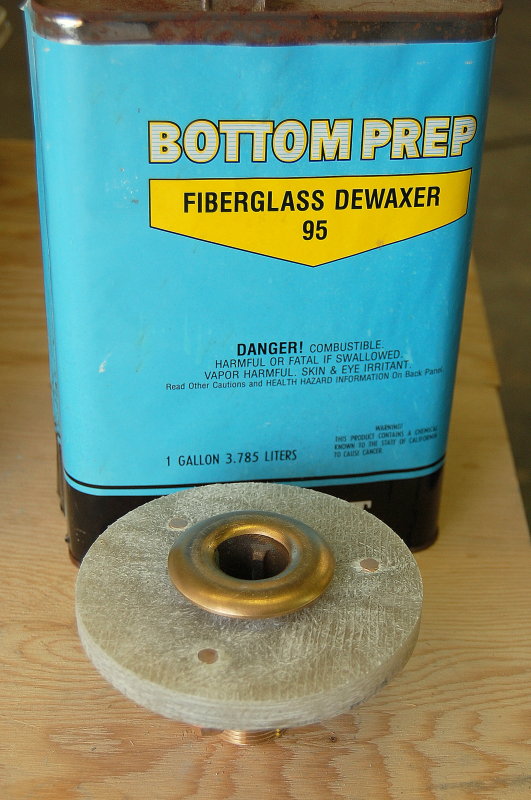
De-Wax
First you need to de-wax the backing plate. Polyester finishing resin has added paraffin to aid in the cure process. This wax, and the wax coating from what you laid it up on, must be removed prior to installation or nothing will adhere well.
Over the years I have found the dedicated, but overly priced, cocktails of chemicals sold by Pettit or Interlux as de-waxers definitely work. I only wish I could figure out what the chemical mix is because I bet I could mix it up for considerably less than what they sell it for.
10-APR-2009
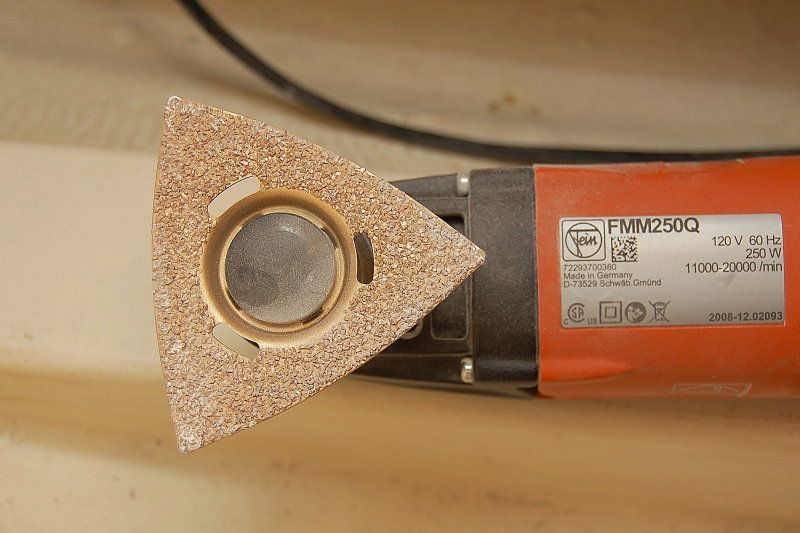
Aggressively Sand
For good adhesion you really need a clean surface with nice deep scars and surface irregularities. For this I used my Fein Multi-Master and the Carbide Triangular Rasp attachment. This is a hard, alloy tipped sanding attachment. It produces about 5 times the sanding performance of 40-grit paper, but won't load up with residue. It also LASTS for a long time because it is carbide.
If you don't have a Fein, or other multi-tool, don't worry as about any wire wheel brush on a drill will do a similar job or 36 grit discs on an angle grinder..
10-APR-2009
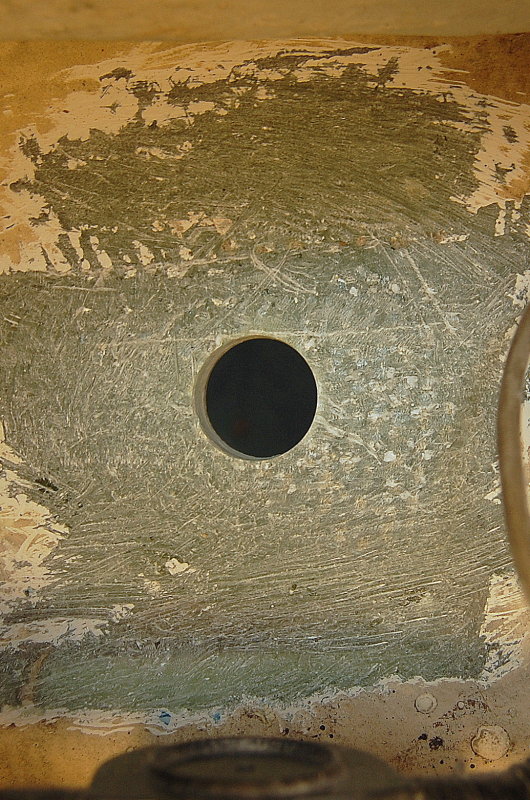
Sand The Hull
Before you begin sanding the hull you should remove any surface wax. Gelcoat, like polyester finishing resin, is also an air inhibited cure so any gelcoat on the interior of a hull has a waxy surface. In order for proper adhesion any interior gelcoat needs to be removed.
10-APR-2009
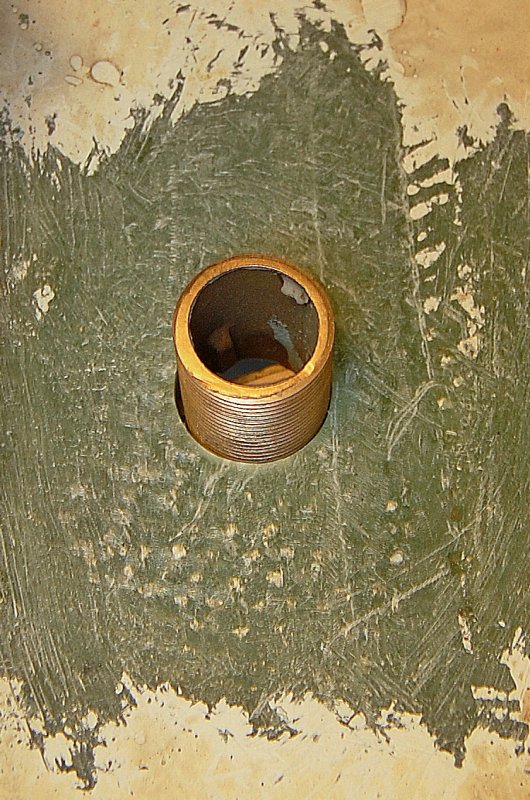
Dry Fit
In order for your backing block and through hull to fit properly you must do a test fit. It took me four tries to get the through hull to sit flush on the exterior of the hull due to some irregularities on the interior that needed to be sanded out. The two planes must be parallel under both the backing block and the thru-hull head for a proper fit and this may take some sanding.
10-APR-2009
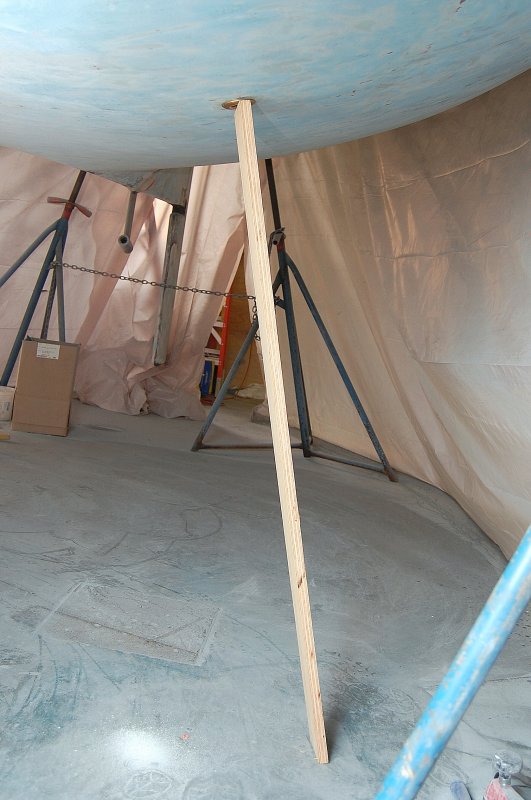
Installation
Once your dry fit is confirmed parallel, and all sides of the mushroom head sit flush on the hulls exterior you will need to do one more round of de-waxing of both hull and backing block.
After that is done you need to wax both the flange (not the backer block) and the thru-hull with copious amounts of mold release wax, butchers wax or even Collinite. The wax should be a paste type carnuba. After you have waxed it cut a scrap board to length and wedge the thru-hull into place. If you are on gravel or dirt lay a board on the ground to wedge the upright board against.
Contrary to popular belief you really do not need two people to install a thru-hull if you can be a little creative.
10-APR-2009
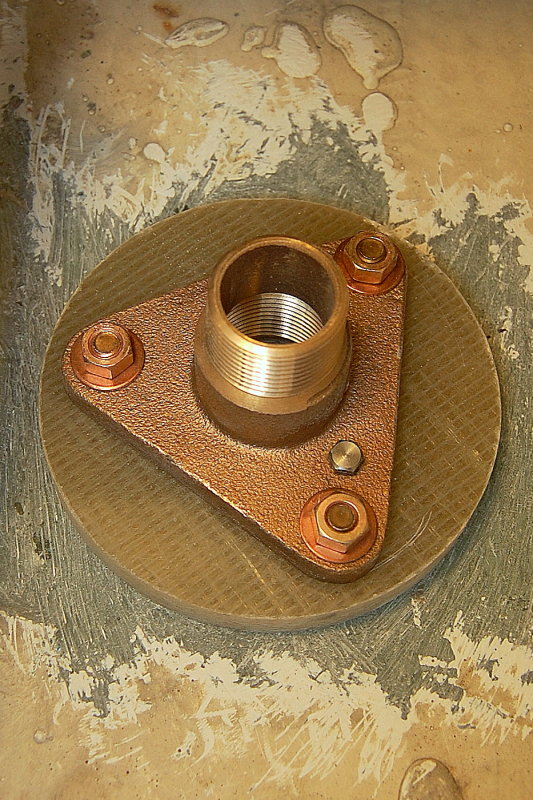
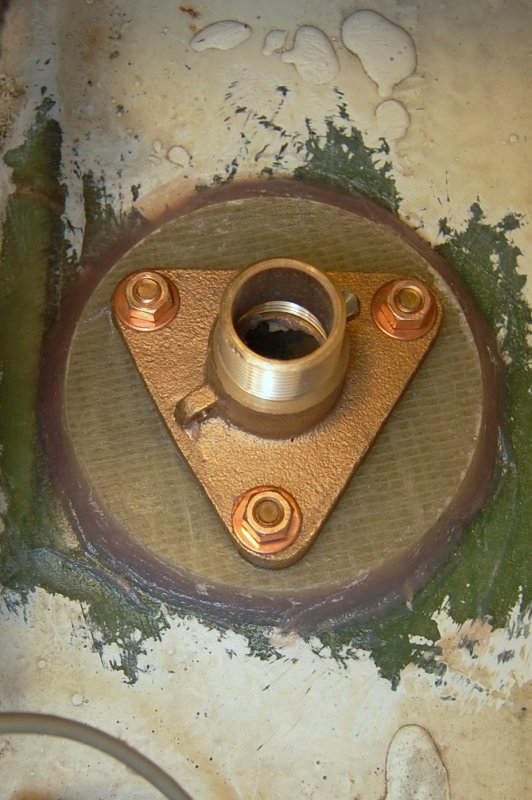
View From Inside
Here is the thru-hull ready for the resin mix, backing block and flange.
10-APR-2009
Mix Your Resin
For illustration I choose to make a formula to show the consistency better. Whether epoxy, polyester or vinylester all should be plenty strong for this application. Epoxy is considerably stronger than polyester resin, in a secondary bond, and is what I personally use. My mix for illustration consisted of chopped strand fibers, West System 406 Coloidal silica or Cabosil, some West 404 and polyester resin. The same mix can be made with epoxy. When I shot this I was not ready to lay it up so used the less expensive polyester resin.
I like making my own "recipe" because it gives me more control over consistency and how it fillets. Kitty hair is another product I sometimes use but it will not fillet as well as your own custom mix will. For catalyst in the illustration I used some red dyed MEK-P. I like dyed MEK-P so you know you have it thoroughly mixed.
Wear rubber gloves and apply a thin coat of the mix to both the hull and backing block, then slather a large amount onto the backing block and thread it onto the thru-hull about three threads. I then used vise grips to grip the flange to prevent it from spinning and went out side the boat and used my step wrench to tighten down the thru-hull and seat the backing block.
Note: Epoxy will yield a much stronger bond than polyester resin but even polyester should give you about 500 PSI adhesion. ABYC standards call for the seacock to support a 500 pound static load for 30 seconds at the inner most hard fitting or hose barb.
10-APR-2009
Installed
Here is the tapped fiberglass backing block installed and ready for curing. Let it cure overnight and in the morning go remove the thru-hull, and the flange, then clean them of the wax.
The last step after de-waxing the thru-hull and flange is to bed them with underwater rated marine sealant and install the seacock, hose barb and hose.
You now have a life long backing block, with replaceable studs, and no extra holes in your hull. Simple and easy..
I choose to use replaceable studs because in the event they become buggered you can simply replace them.
MAY-2006
Help Support This Site
Like what you saw or read in this article? Was it helpful? Could the information save you some money? Would you like to see more articles like this?
If so feel free to donate, support the site, and keep it growing. Please DO NOT feel obligated at all. If you like it and want to make a donation, please do. Your donations help keep the content coming and also help keep it FREE.
Click the DONATE button below if you would like to make a donation via PayPal.