photo sharing and upload picture albums photo forums search pictures popular photos photography help login
The Sigma Users Group Galleries | profile | all galleries >> User Galleries >> Other Galleries >> Sensor Cleaning for the SD9 and SD10 tree view | thumbnails | slideshow

Sensor Cleaning for the SD9 and SD10

Disclaimer:
Review the instructions in the Users Guide for your SD9 or SD10. Cleaning a sensor is delicate work and best left to professionals at a Sigma service center. Making a mistake, such as not using the AC power supply, can cause severe damage to your camera. The authors, the Sigma Users Group, the Sigma companies and importers, and Pbase will not accept liability in any form for any camera damaged when attempting to follow these procedures.

If it is not possible to get your camera to a service center or if you feel confident to undertake this on your own, here are two procedures which work.

Tip: Always lay your camera face down between steps.

Click on the first image and use the Next link to go through the procedure step-by-step.

A pdf file with all of the steps is available for downloading here.
(Left click and select "Save link as" to download it to your computer or right click and open it in a pdf reader.)

©2004 Günter Hördt & Laurence Matson
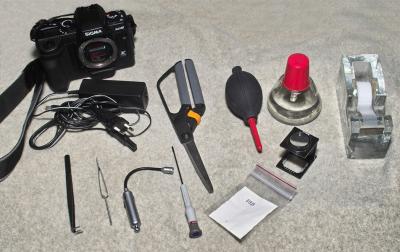
What we use to clean the sensor in an SD9 or SD10
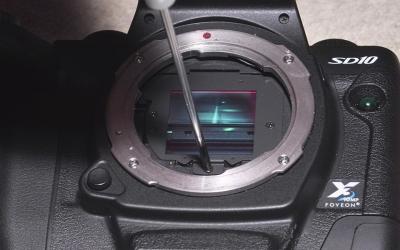
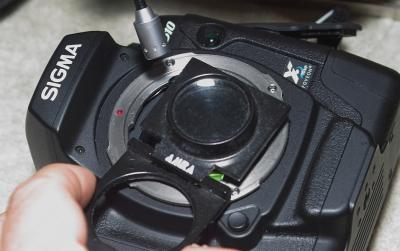
Remove the screw at the bottom of the dust protector.
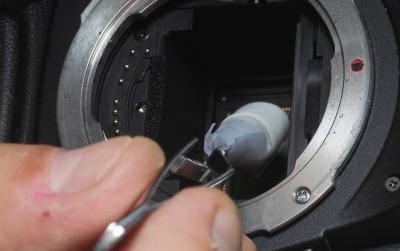
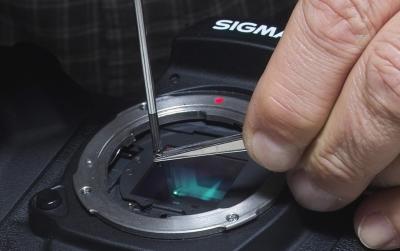
Carefully lift out the screw using the screwdriver and tweezers.
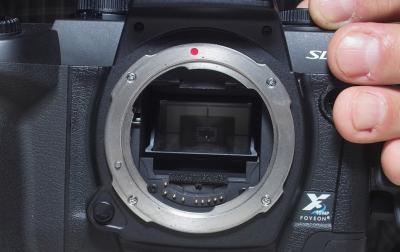
Note the position of the top edge of the dust cover,
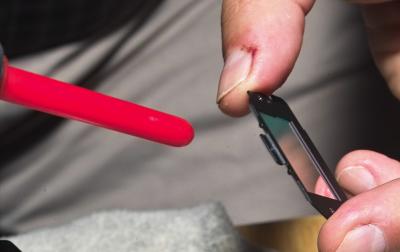
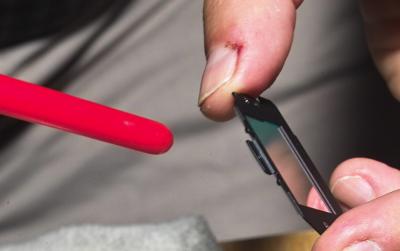
Blow dust off dust protector and set aside;
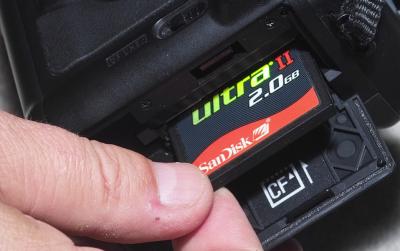
Remove the CF card.
Remove the CF card.
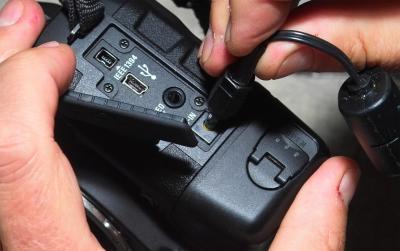
Attach the AC power cord to the camera and plug it into the wall.
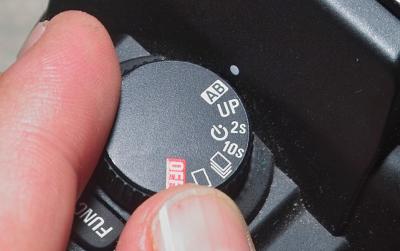
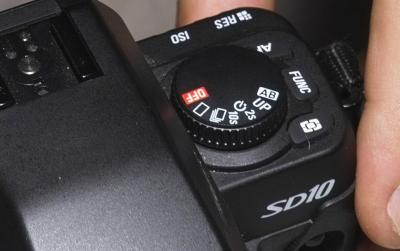
Set the camera’s left dial to AB.
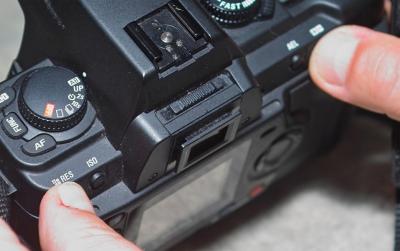
Hold the RES and +/- buttons.
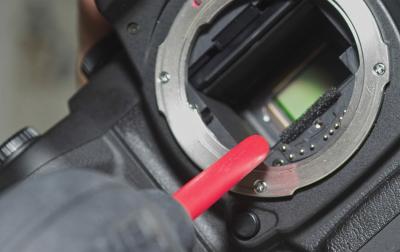
Blow out any obvious dust from the mirror chamber.
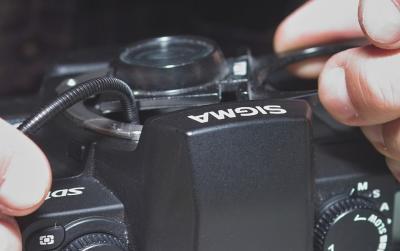
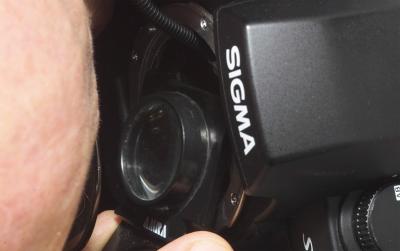
Using the lamp and magnifying glass,
Do not touch the sensor surface with the lamp.
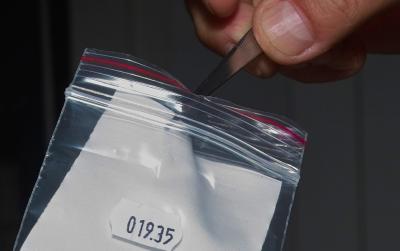
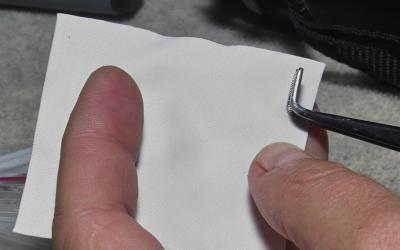
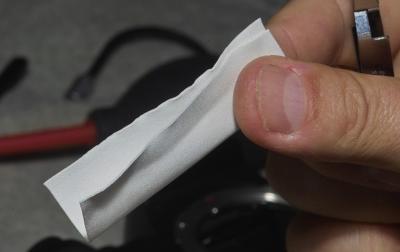
Remove the white cloth from its plastic holder.
u20/sigmasd9/upload/27323082.spacer.gif
Dry: To make a dry cleaner,
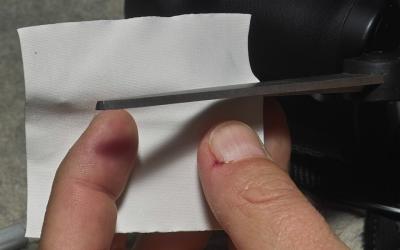
Dry: Cut off a strip wide enough
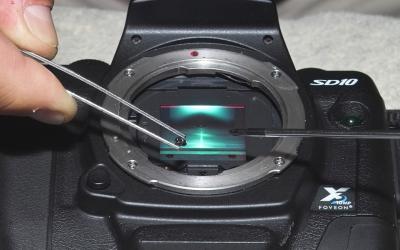
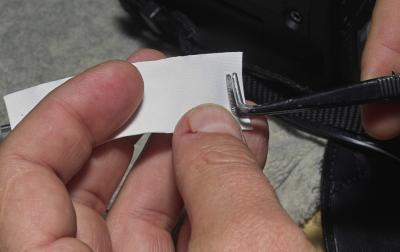
Dry: Pinch the cloth between the right-angle tweezers.
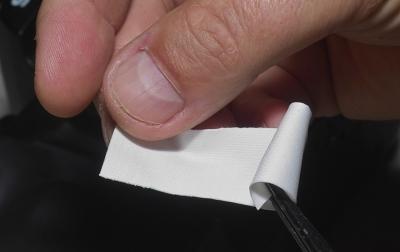
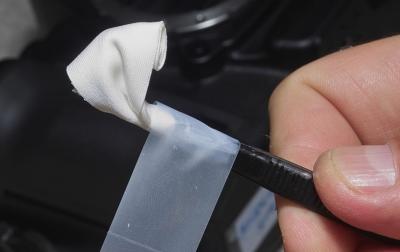
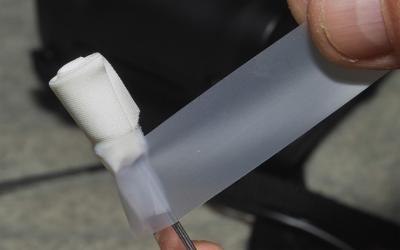
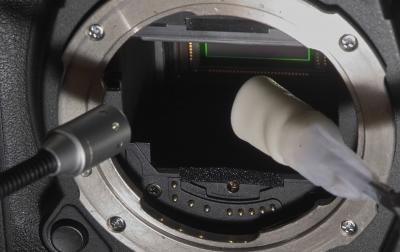
Dry: Wrap the cloth around the end of the tweezers.
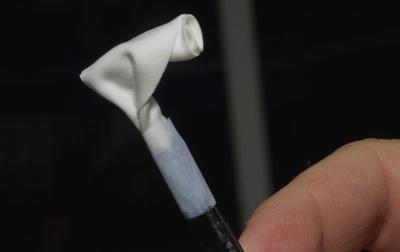
Dry: Tape the end of the cloth around the tweezers to hold it in place.
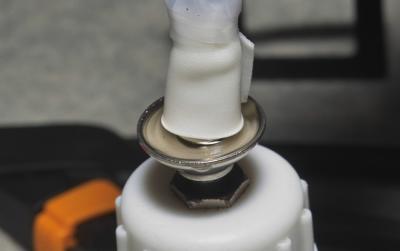
Dry: This is the finished dry cloth.
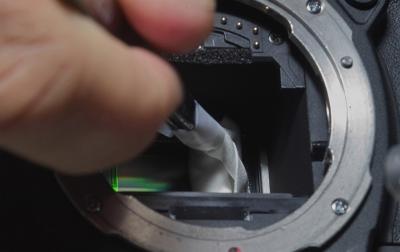
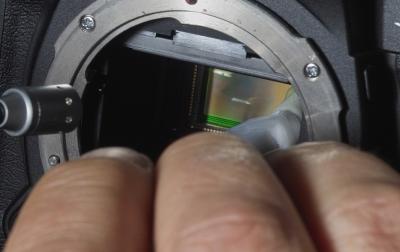
Dry: Gently wipe the dry cleaner back and forth across the sensor.
Dry: You can also go top to bottom.
u20/sigmasd9/upload/27323127.spacer.gif
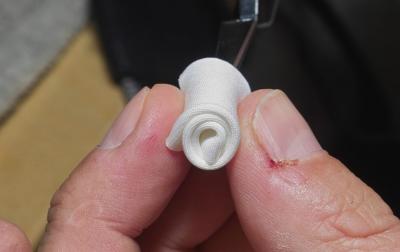
Wet: To make a wet cleaner, fold the white cloth in half.
Wet: Pinch one end of the cloth between the straight tweezers
Wet: Tape the top of the cloth around the tweezers to hold it in place.
Wet: Dip the wet cleaner into the alcohol.
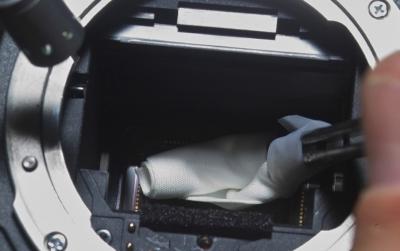
Wet: Pass the cleaner over the sensor.
Wet: Check that the sensor has dried.
Wet: Use the lamp to see better.
Check your work with the magnifying glass and lamp.
Turn the camera dial to OFF.
The shutter is now closed and the mirror dropped.
Blow dust off dust protector again.
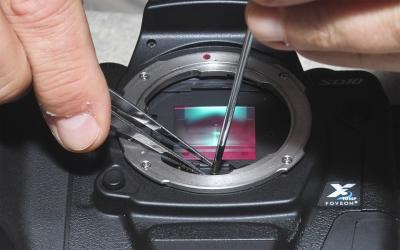
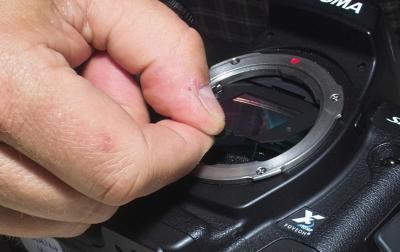
Hold the dust cover near the screw hole
Using the tweezers and screw driver,
u20/sigmasd9/upload/27323102.spacer.gif
u20/sigmasd9/upload/27323122.spacer.gif