photo sharing and upload picture albums photo forums search pictures popular photos photography help login
weed30 | profile | all galleries >> Galleries >> Dividing and Shipping Hostas tree view | thumbnails | slideshow

Dividing and Shipping Hostas

Digging, Dividing and Shipping Posted by seedseller1 4 IA (My Page) on Sat, Mar 12, 05 at 21:21

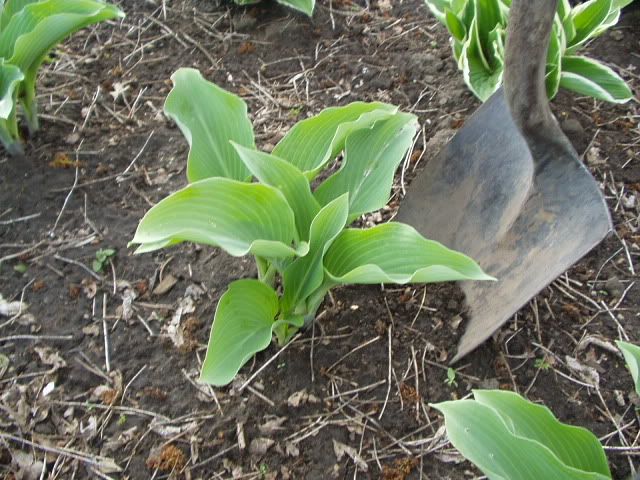
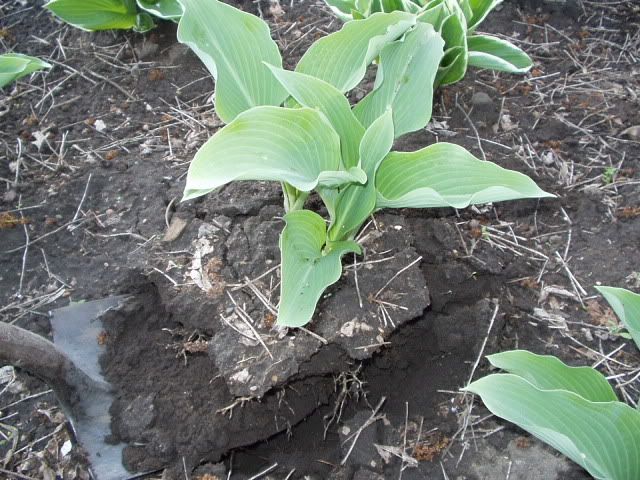
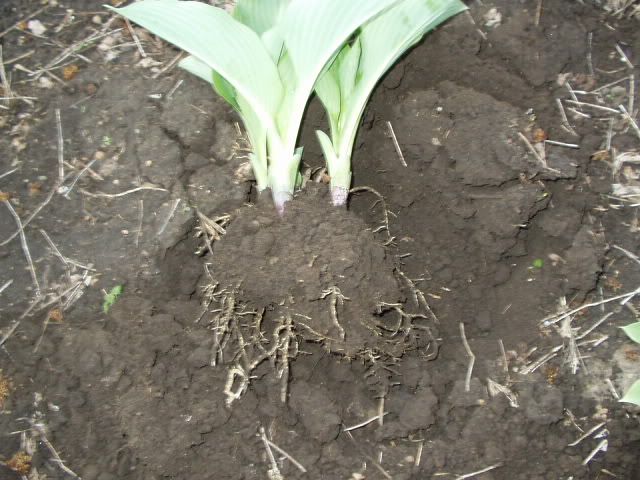
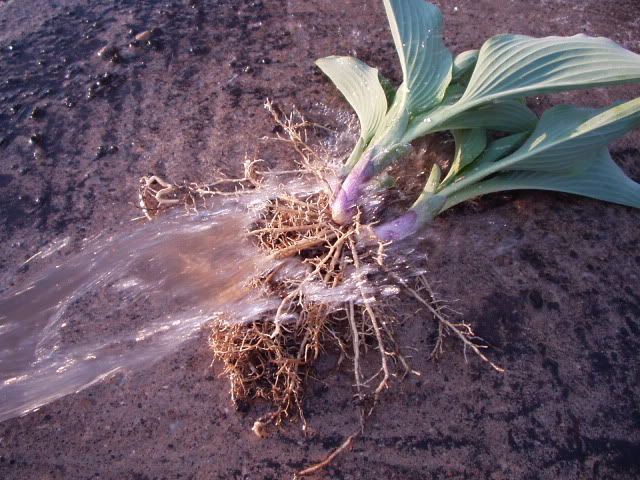
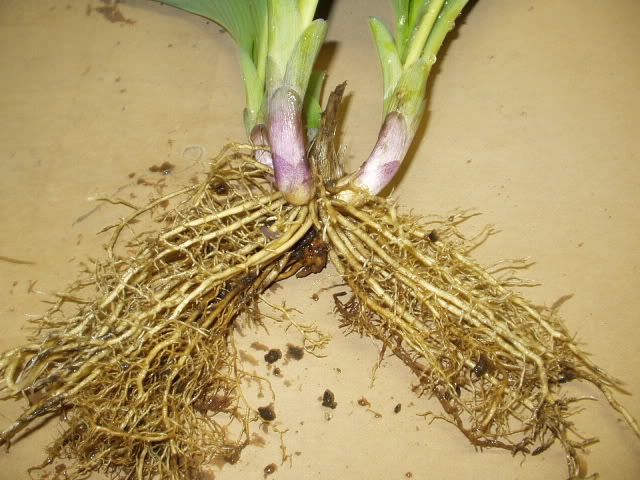
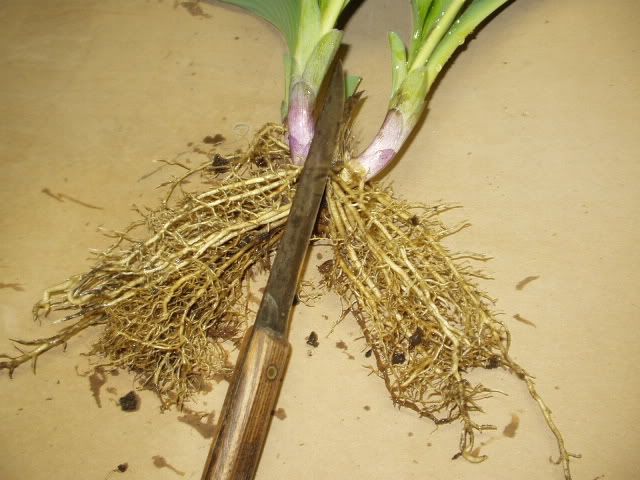
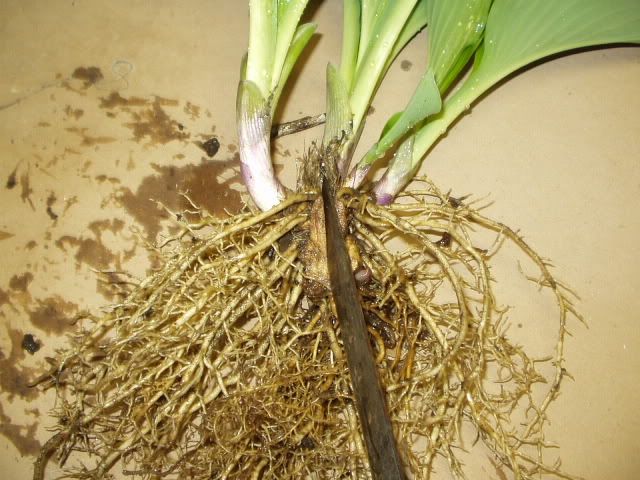
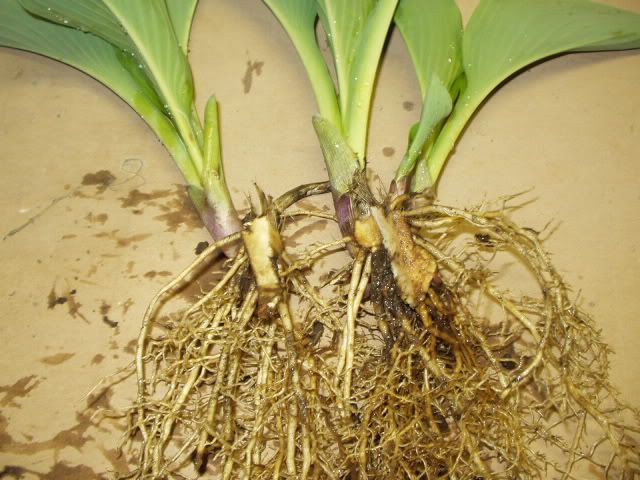
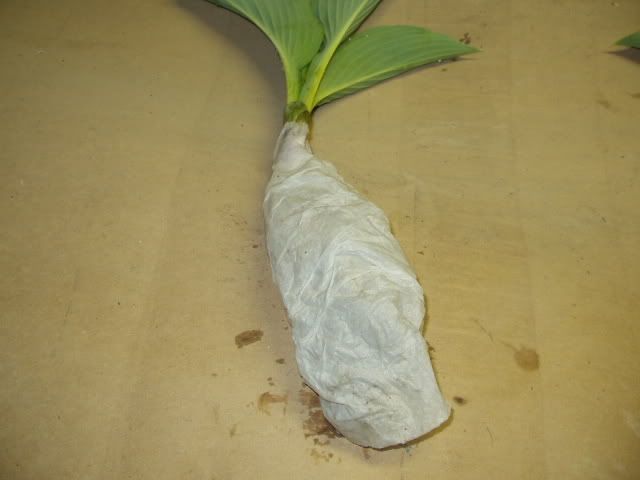
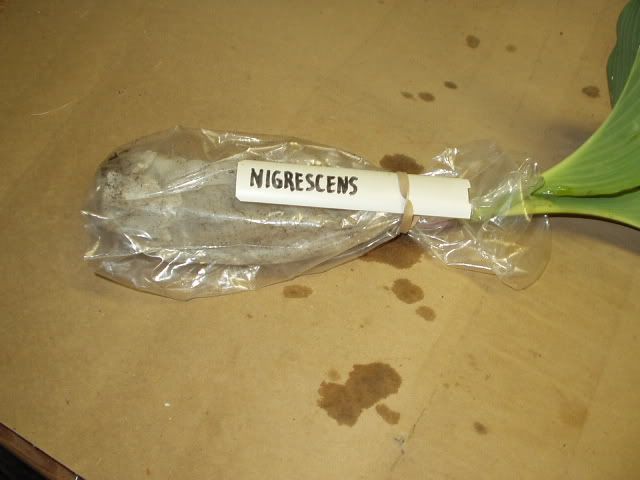
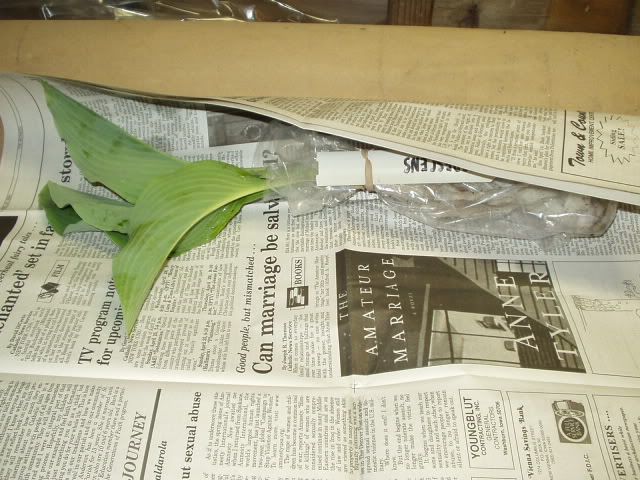
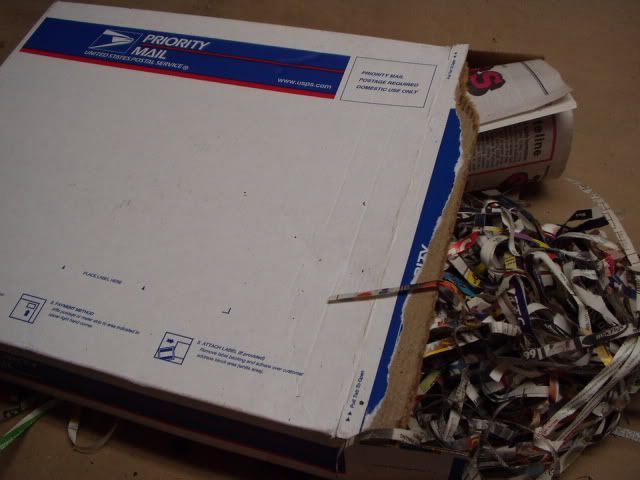
The following is a "reconstruction" of the post that I submitted last year and have had several requests to resubmit:


First is to acquire a plant. If it is one that is already in your bed, you will need to dig it up. Place the shovel far enough from the base of the plant to start digging beyond the rootball. We want to keep root damage to a minimum.

Remove the shovel without lifting the soil and insert it on the opposite side of the plant in the same manner.

This time the plant may be lifted out if it is smaller like the one in the pic. For more mature specimens, you may want to repeat this procedure all the way around the plant to avoid root damage. If your hosta is already potted, simply remove it from the pot.

After the plant is lifted, gently remove the excess soil that will readily fall from the rootball. GENTLY shaking the plant will remove some excess soil without taking roots with it. Remove the remaining soil from the rootball with the use of water. Thoroughly washing the rootball will allow you full view of the root structure and crown.

After thorough washing, examine the crown and make a decision as to where it may be the most easily divided to ensure an "eye" and a generous amount of roots below it. Sometimes a single eye can be removed, but sometimes multiple eyes are the only option to allow a balanced portion of roots to go with it. Manually separate the roots (sometimes they need to be untangled) to verify your decision was correct.

Next comes dividing the crown. This is most easily accomplished using a large knife. Be sure to disinfect it using at least a 20% bleach solution. Sometimes the division can be made with one straight cut, but more frequently you may find that you will need to cut to the center of the crown, go to the "flip side" of the plant, and make an incision that intersects your first cut. The first cut to the center of the crown.

Flip the plant over and cut the crown to meet your first cut.

The result should yield a division with at least one eye, a proportionate amount of the crown, and sufficient roots.

If you have already determined your specimen for shipping and would like to do your division now, you may simply repot the division until shipping time. If you are preparing your hosta to ship immediately, the next step is to wrap the roots in moistened paper towels, leaving the tops exposed.

This should be followed by wrapping the paper-toweled wrapped roots in a plastic bag. Depending on the size of the plant, you can use a sandwich bag to a plastic grocery bag, whatever will work, and secure it with a rubber band. This is also an appropriate time to label the hosta.

Follow this step by "rolling" the plant in several layers of newspaper, being especially careful to lay out existing leaves to avoid damage. The ends of the rolled newspaper can then be folded over and taped, again being careful not to fold the leaves or roots.

All that is left is to obtain a properly sized Priority Shipping box from your local post office (free), and insert the hosta, and fill any voids in the box with shipping "peanuts" or crumpled or shredded newspaper to keep the wrapped hosta in a secure position within the box.

Mike


Guacamole2.JPG
Guacamole2.JPG
Slide1.JPG
Slide1.JPG